
- Trending Now
- Fragrance Oils
- Fragrance Oils
- All Luxury Fragrance Oils
- Best Sellers
- Sample Fragrance Oil Kits
- Dupe Fragrance Oils
- Essential Oils
- Exclusive Edition Fragrance Oils
- Strong Hot Throw Fragrances
- Fragrance Oil SALE
- Fragrance Oils by Season
- Spring Fragrance Oils
- Summer Fragrance Oils
- Autumn Fragrance Oils
- Winter Fragrance Oils
- Christmas Fragrance Oils
- Useful Fragrance Documents
- CLP Label Maker
- CLP Printing Service
- Fragrance Mass Calculator
- Designer Dupe Chart
- Wax
- Wax By Application
- Container Candle Waxes
- Wax Melt Waxes
- Pillar Candle Waxes
- Wax by Type
- Vegetable and Plant Waxes
- Parrafin Wax Blends
- Coconut Waxes
- Beeswax


- Flameless
Diffuser Bottles By Size
Flameless Accessories
Diffuser Bottles By Colour
- Amber Diffuser Bottles
- Black Diffuser Bottles
- Nude Diffuser Bottles
- White Diffuser Bottles
- Shop All Diffuser Bottles By Colour
Diffuser Bottles By Name
- Wax Melts & Pillar Candles
- Packaging & Lids
- Flat Pack Boxes
- Candle Boxes
- Diffuser Boxes
- Wax Melt Boxes
- Window Boxes
- Hard / Rigid Boxes
- Cylinder Boxes
- Hard Gift Boxes
- Hard Candle Boxes
- Packaging Accessories & Lids
- Candle Lids
- Candle Bags
- Other Packaging Accessories
- Custom Packaging
- Custom Candle Boxes
- Custom Packaging Sleeves
- Pre Designed Packaging
- Christmas Packaging


- Accessories
- Tools & Equipment
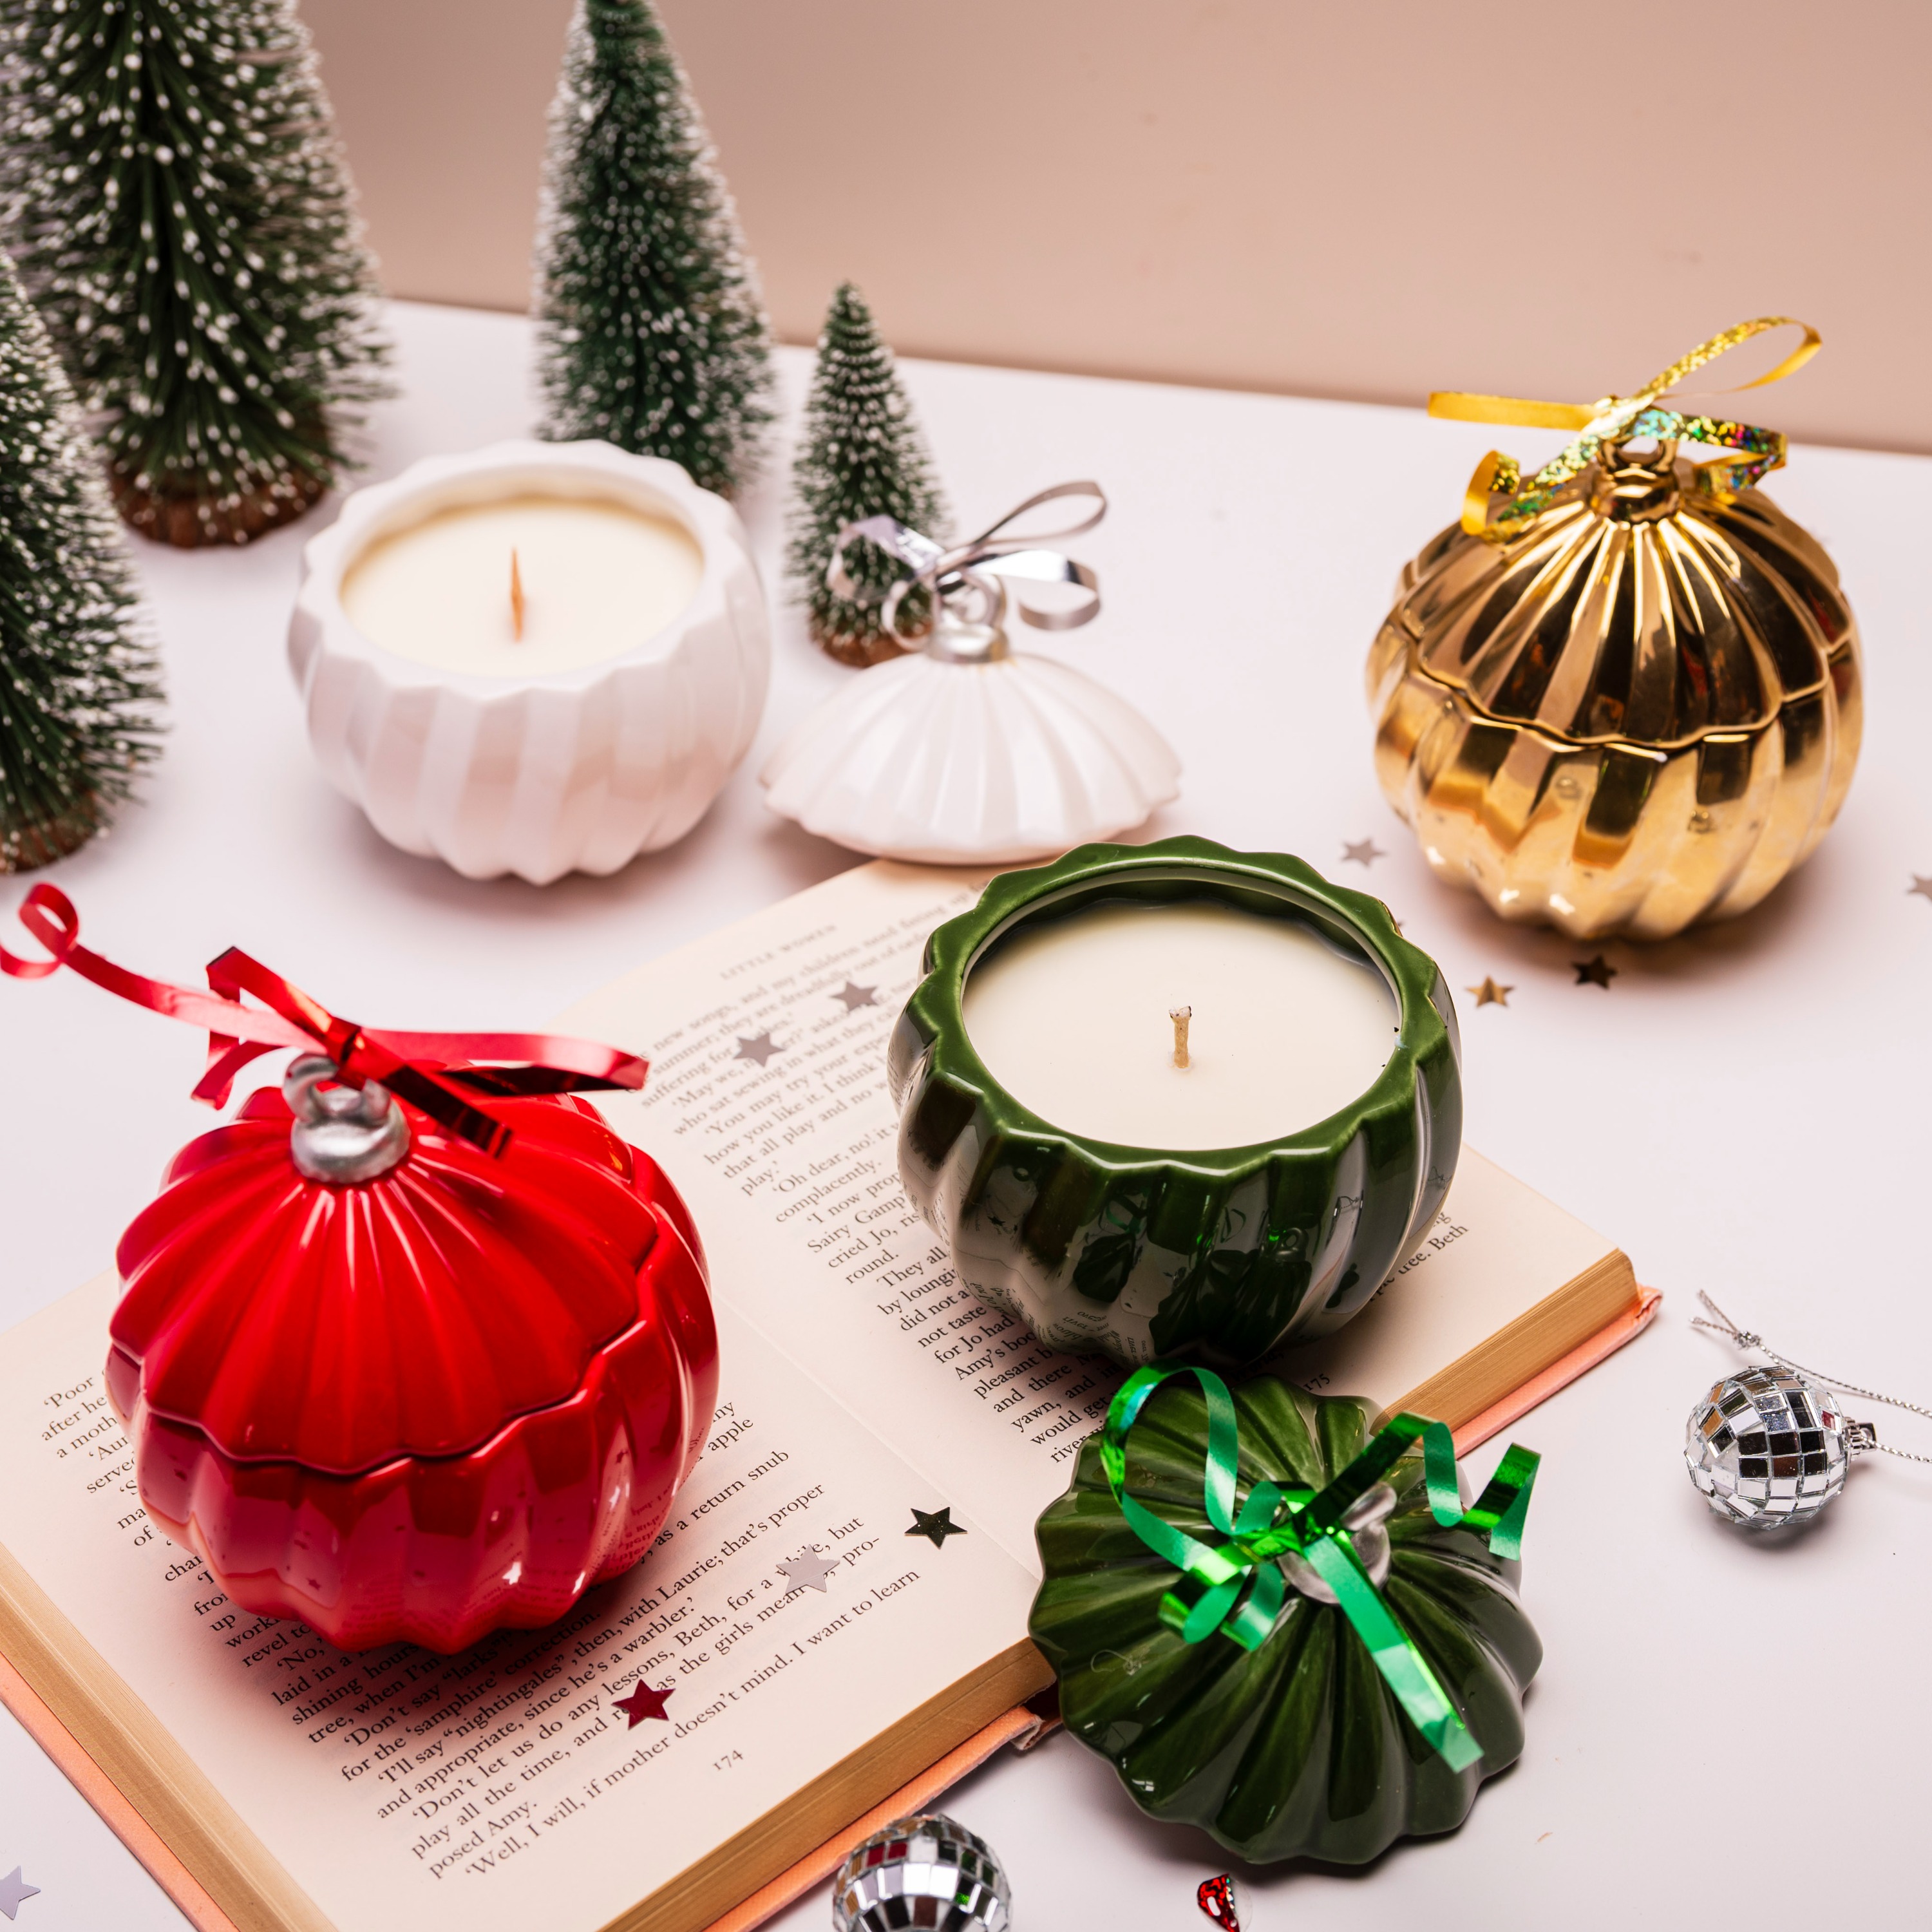




Pillar candles have become more popular in the last 24 months. We are now seeing lots of shapes and colours, from handbag pillar candles to large feature pieces. They are a great addition to your business, and the large stature of them can be a feature piece on your online store or your market stand. You will need to master the craft; however, once this has been completed, the molds and materials you buy can be reused, making them a profitable item with a large profit margin. They also attract a different type of customer, and when you are creating container candles and have the wax on the go, they are an easy add-on. So, let's talk through how to create your very first pillar candle and add a new offering to your business.
Materials Needed:
PM7 wax
Pillar Candle mold
Fragrance of your choice
Pillar wick
Stiff wick
Celotape
Step 1: Wick Your Candle Mold
Wicking your candle mold can be a bit fiddly, so patience is key. Here's how you do it:
Take your pillar wick and thread it through the hole in the mold.
Pull the wick through the other end until you have enough thread.
Secure the wick in place by taping over the top of the mold. This will also prevent any wax from dripping out and flooding your surface.
For extra security, apply a second piece of tape over the first one.
Step 2: Measure and Melt Your Wax
It's important to measure the correct amount of wax for your candle mold. Our mold holds 300 grams, so we'll use a simple formulation of 8% fragrance:
276 grams of PM7 wax
24 grams of fragrance oil
Measure out 276 grams of PM7 wax using a scale.
Melt the wax to 85°C.
Step 3: Add Your Fragrance (and Colour)
Now that your wax is melted, it's time to add your fragrance. We're using eucalyptus and spearmint, a dreamy scent perfect for this time of year. If you're using colours, here is the time to add the recommended amount, which is usually 0.2-0.5%, to create the perfect coloured pillar candles.
Measure out 24 grams of fragrance oil.
Add the fragrance oil (and dye, if using) to the melted wax.
Stir the mixture thoroughly using a bamboo stirrer to fully combine the fragrance oil (and dye) with the wax.
Step 4: Pour the Wax
Before pouring the full amount of wax, do a quick check to ensure there's no leakage:
Pour a little bit of the wax mixture into the mold.
Double-check that no wax is coming out from underneath the tape.
Once confirmed, pour the full amount of wax into the mold slowly and steadily.
Step 5: Apply the Stiff Wick
To ensure a smooth demolding process:
Leave a bit of space at the top so the stiff wick doesn't set itself to the candle.
After 24 hours, you may notice sinkholes in the wax—this is a natural reaction.
Step 6: Remedy Sinkholes
If sinkholes form, here's an easy fix:
Melt some more wax.
Pour the melted wax into the sinkholes to fill them back up.
Let it reset for another 24 hours.
Final Step: Demold Your Candle
After 24 hours have passed, trim the wick at both ends and demold your pillar candle.
And there you have it! You've successfully created your own luxury pillar candle. If you want to colour your pillar candles, then please do check out the Colours by LCS to create colourful candles.