
- Trending Now
- Fragrance Oils
- Fragrance Oils
- All Luxury Fragrance Oils
- Best Sellers
- Sample Fragrance Oil Kits
- Dupe Fragrance Oils
- Essential Oils
- Exclusive Edition Fragrance Oils
- Strong Hot Throw Fragrances
- Fragrance Oil SALE
- Fragrance Oils by Season
- Spring Fragrance Oils
- Summer Fragrance Oils
- Autumn Fragrance Oils
- Winter Fragrance Oils
- Christmas Fragrance Oils
- Useful Fragrance Documents
- CLP Label Maker
- CLP Printing Service
- Fragrance Mass Calculator
- Designer Dupe Chart
- Wax
- Wax By Application
- Container Candle Waxes
- Wax Melt Waxes
- Pillar Candle Waxes
- Wax by Type
- Vegetable and Plant Waxes
- Parrafin Wax Blends
- Coconut Waxes
- Beeswax


- Flameless
Diffuser Bottles By Size
Flameless Accessories
Diffuser Bottles By Colour
- Amber Diffuser Bottles
- Black Diffuser Bottles
- Nude Diffuser Bottles
- White Diffuser Bottles
- Shop All Diffuser Bottles By Colour
Diffuser Bottles By Name
- Wax Melts & Pillar Candles
- Packaging & Lids
- Flat Pack Boxes
- Candle Boxes
- Diffuser Boxes
- Wax Melt Boxes
- Window Boxes
- Hard / Rigid Boxes
- Cylinder Boxes
- Hard Gift Boxes
- Hard Candle Boxes
- Packaging Accessories & Lids
- Candle Lids
- Candle Bags
- Other Packaging Accessories
- Custom Packaging
- Custom Candle Boxes
- Custom Packaging Sleeves
- Pre Designed Packaging
- Christmas Packaging


- Accessories
- Tools & Equipment
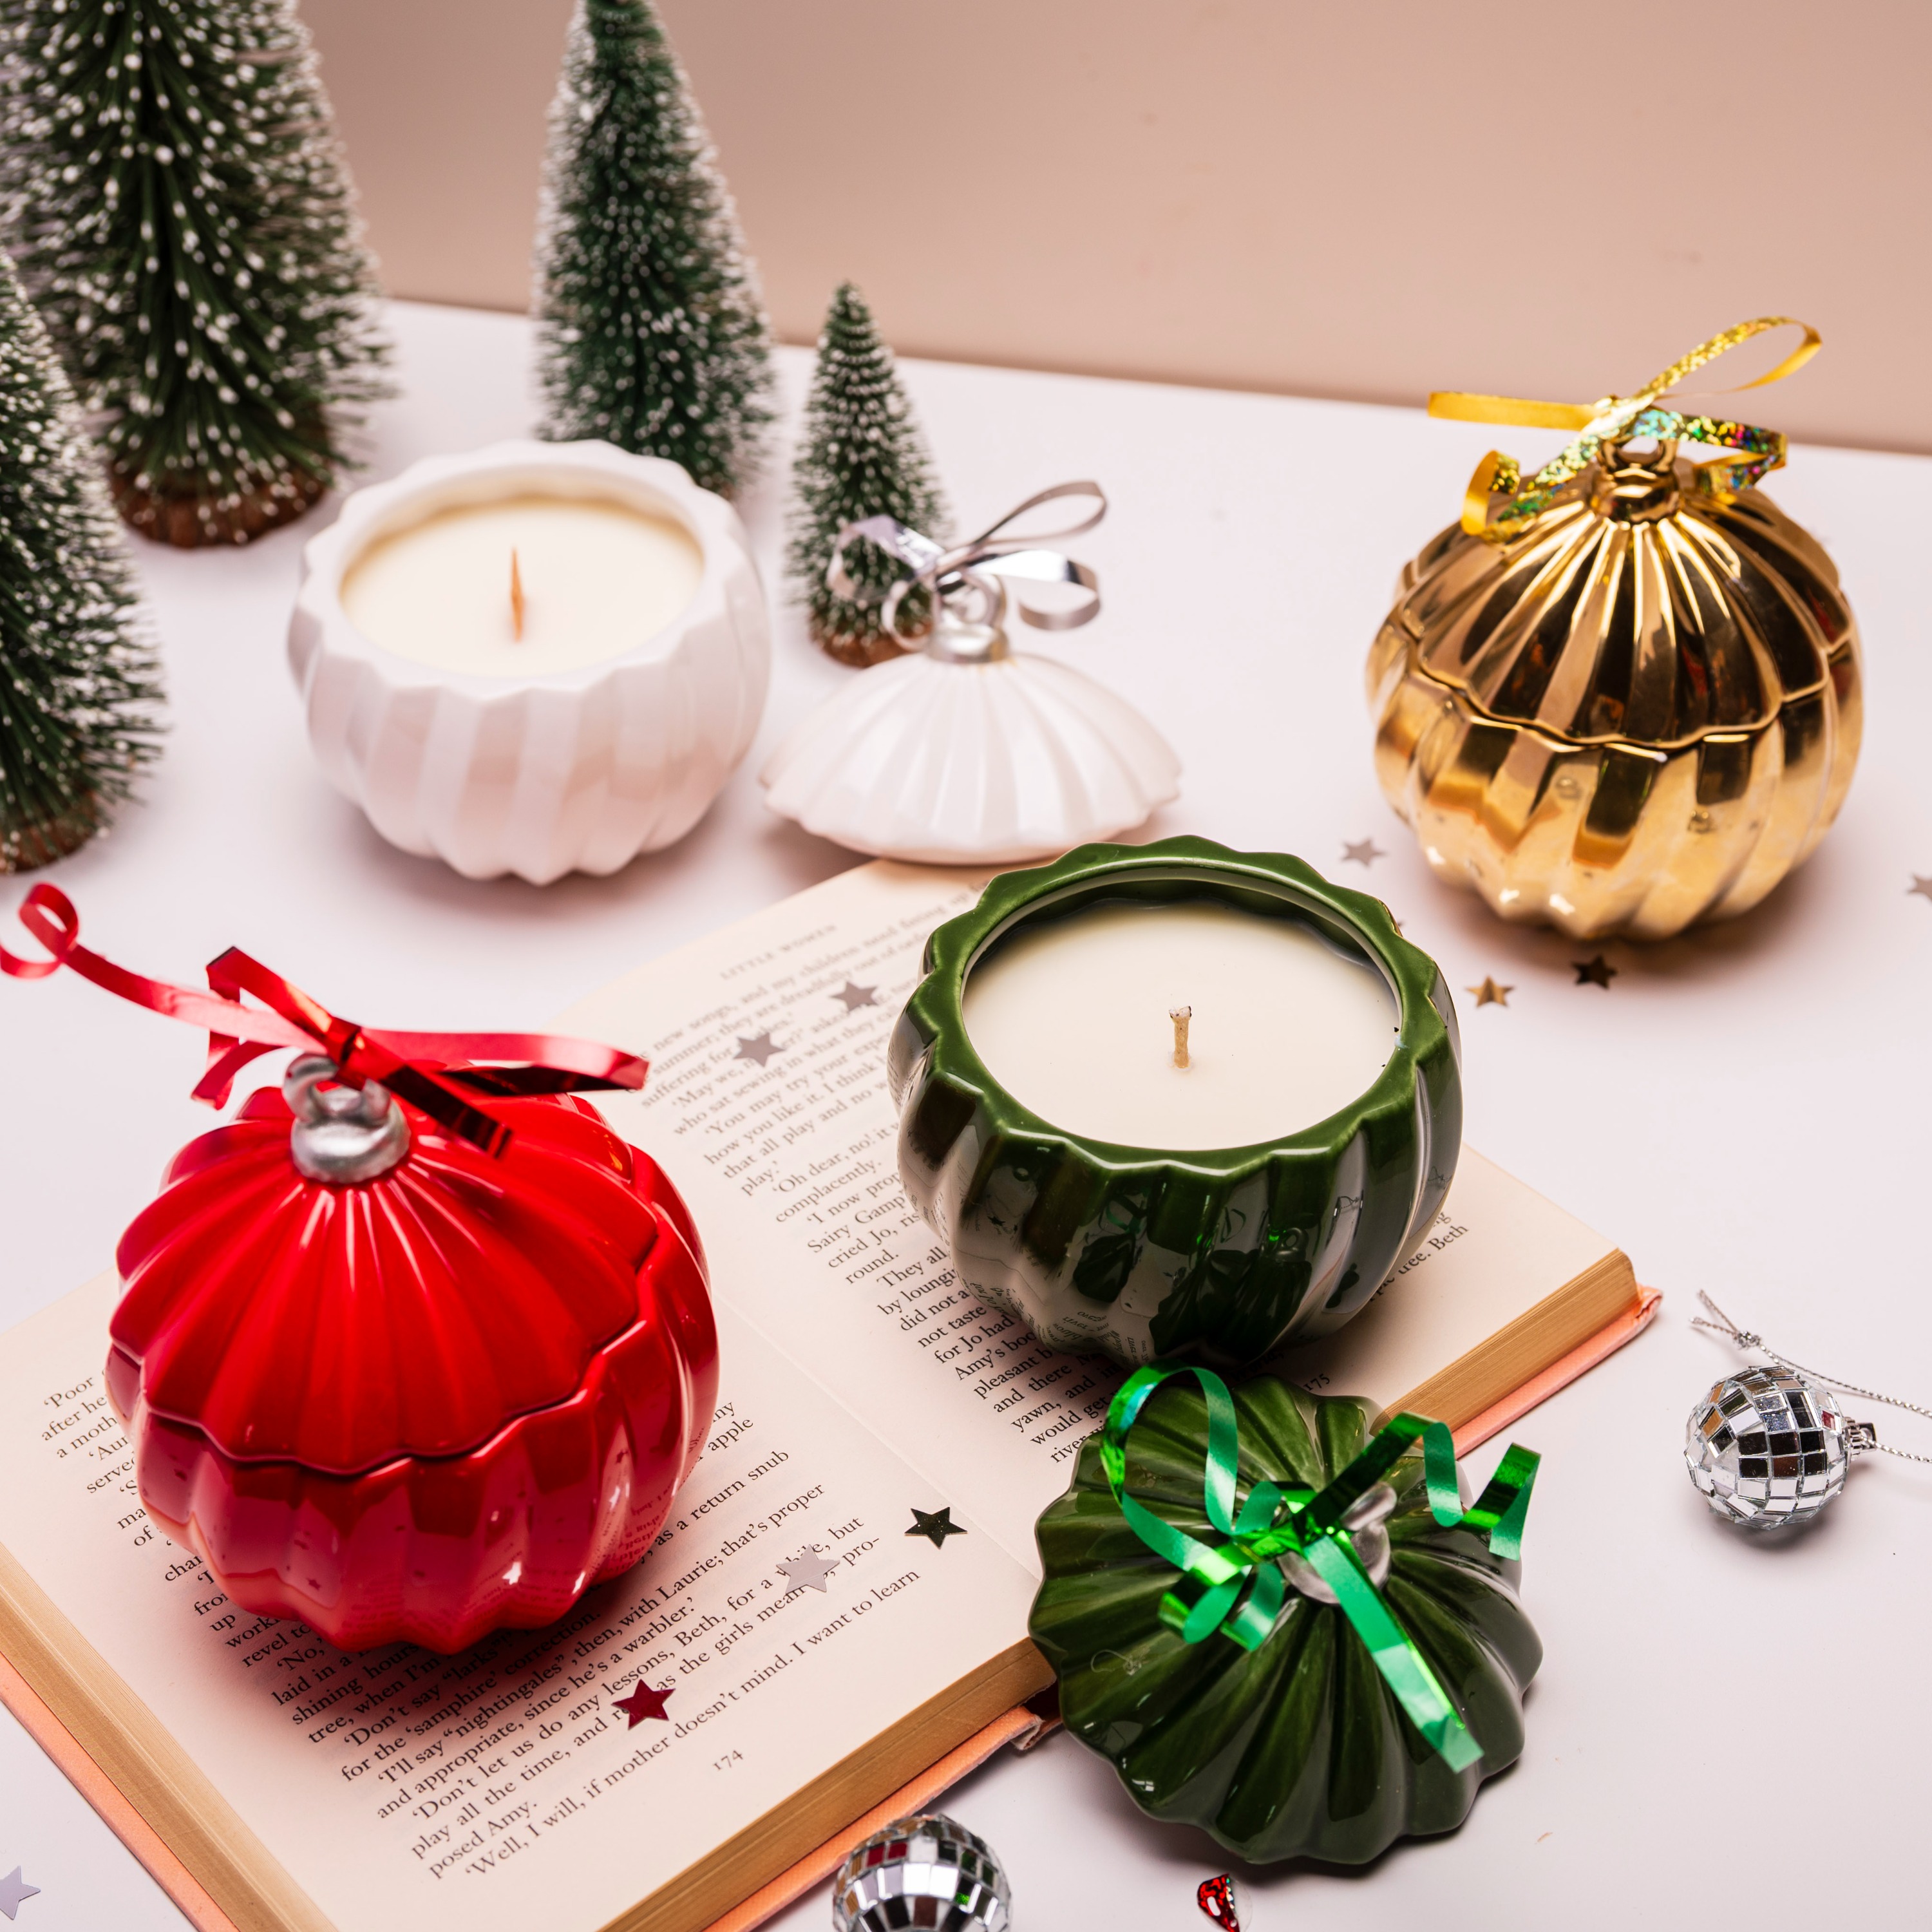


How to make a Geo 230ml
Follow our step-by-step guide to making a stunning 230ml geo jar candle. This tutorial includes a full list of materials, expert tips, and a detailed YouTube video to help you achieve a flawless, luxury finish. Perfect for beginners and experienced makers using premium supplies from London Luxury Candle Supplies.
Materials you will need:
Geo 230ml (Colour of your choice)
1x LCS 75
1x Wick Stickum
165.5g of Wax
14.5g of Fragrance
1x Pouring Jug
Step By Step Process:
1. Clean the Jar
Wipe the inside of your geo jar with a lint-free cloth to remove any dust, residue, or fingerprints.
2. Attach the Wick
Secure a wick sticker to the base of your wick and press it firmly into the centre of the jar.
3. Add the Wick Centreing Tool
Place the centring tool over the top of the jar and gently pull the wick upright so it stays straight and central.
4. Melt the Wax
Melt your wax using a wax melter or microwave until it’s fully liquefied.
5. Measure the Wax
Using a digital scale, weigh out 165.5g of melted wax into a suitable pouring jug. Be sure to tare the scale first.
6. Check the Wax Temperature
Before adding fragrance, ensure the wax has cooled to approximately 65°C.
7. Add the Fragrance Oil
Weigh 14.5g of fragrance oil and stir it thoroughly into the wax for 2–3 minutes to evenly distribute the scent.
8. Check the Pouring Temperature
Allow the wax to cool to 55–60°C before pouring, to minimise imperfections and ensure a smooth finish.
9. Pour the Wax
Slowly pour the wax into the jar, leaving about 1cm of space from the top.
10. Let the Candle Set
Leave the candle to set undisturbed at room temperature for 24 hours.
11. Trim the Wick
Once fully set, remove the centring tool and trim the wick to approximately 5mm.
12. Optional Finishing Touches
If needed, use a heat gun to smooth the surface. You can also add a ribbon if you are gifting or selling your candle.